How to configure PrestaShop with Monema
The virtual PBX can be connected to the PrestaShop service.
It offers the following functionalities:
- Reception of calls at the PBX terminals with the customer’s name obtained from PrestaShop.
- Create a call in the PBX associated with the PrestaShop client if it is found and the corresponding user. You can include the recording if it is available.
- Make calls by clicking on the customer’s address
- Possibility of including a button at PrestaShop store so customers can request an immediate call
Together with the extension for Google Chrome see how to configure here) it allows:
- See an informative popup in the browser when you receive or make a call indicating the client related to the number.
If you do not have a Monema account you can request a test one here.
1. Configuration in the PBX panel
- You have to go to Settings / Integrations and activate the integration with PrestaShop.

- Then click on “Change settings”. The following options will appear:
- PrestaShop URL: Indicate the root path of your store. For example: https://myonlineshop.com
- PrestaShop admin URL: Indicate the root path of the administration access. For example: https://myonlineshop.com/adminXXXXXXXXX
- Webservice key: A key to allow access to PrestaShop from the switchboard. To access the back office (administrator access) of PrestaShop and go in the side menu to Advanced parameters > Webservice. Once there you must enable the web service. Then click on Add a new webservice class. You must fill in the corresponding form and give GET access permissions to addresses, employees, order_states y orders. After saving, the generated key must be indicated in that field
3. Once the data has been correctly indicated, you must click on the Verify access button. If everything went well, a new section should appear with:
- Configured extensions: In this list you must indicate which employee of the PrestaShop store is related to which extension of the PBX. This will allow calls to be made by clicking on the address’s phone number in the backoffice.
- Get Caller ID from PrestaShop: Indicate if you want PrestaShop to be asked for the customer associated with each phone number
4. Additionally, some data will appear that will be used in the next step in the PrestaShop Configuration section..
2. Add module to PrestaShop
The first step is to add the Phoneme module from the Pipedrive panel. This module works from PrestaShop 1.7 and is the one that allows you to add Click2Call to the store and make calls from customer addresses. To install it you must:
- Download the Monema module for PrestaShop from the website here.
- Access PrestaShop BackOffice as administrator (administrator access) and go to Modules > Module administration. Once there, click on Upload module and select the downloaded file.
After this we can go to the configuration of the module. There we must fill in the following fields:
- Monema URL: data to be copied from PrestaShop Configuration in the PrestaShop configuration of the PBX.
- Monema token: data to be copied from PrestaShop Configuration at the PrestaShop setup in the PBX panel.
- Name of the click2call to load in the store: if you want the button to allow calling customers to appear on the store’s website, you must choose here the button that is configured in the Click2Call section in the PBX panel.
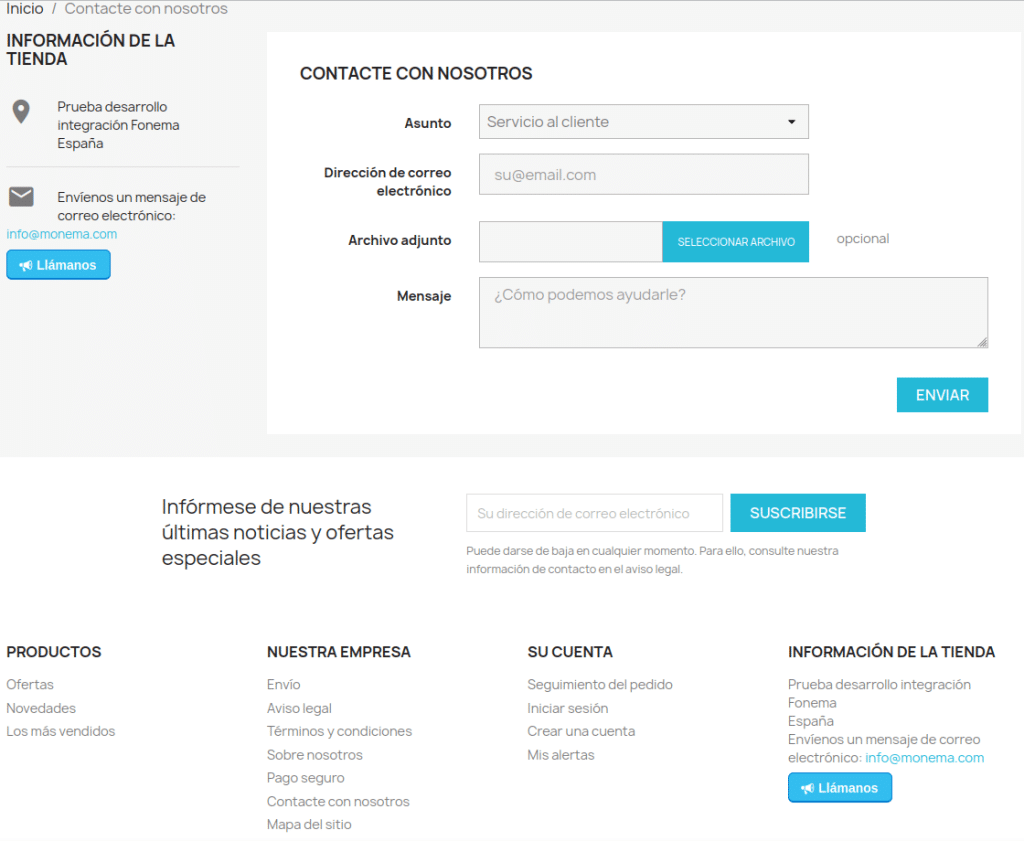
- Where to load the click2call in the store: indicates where the call button will appear in the PrestaShop store. If In store information is chosen, it will appear on the bottom skirt and in the contact information, and if Floating is chosen, it will always appear visible over the web.
Finally press “Save” to apply the settings.
